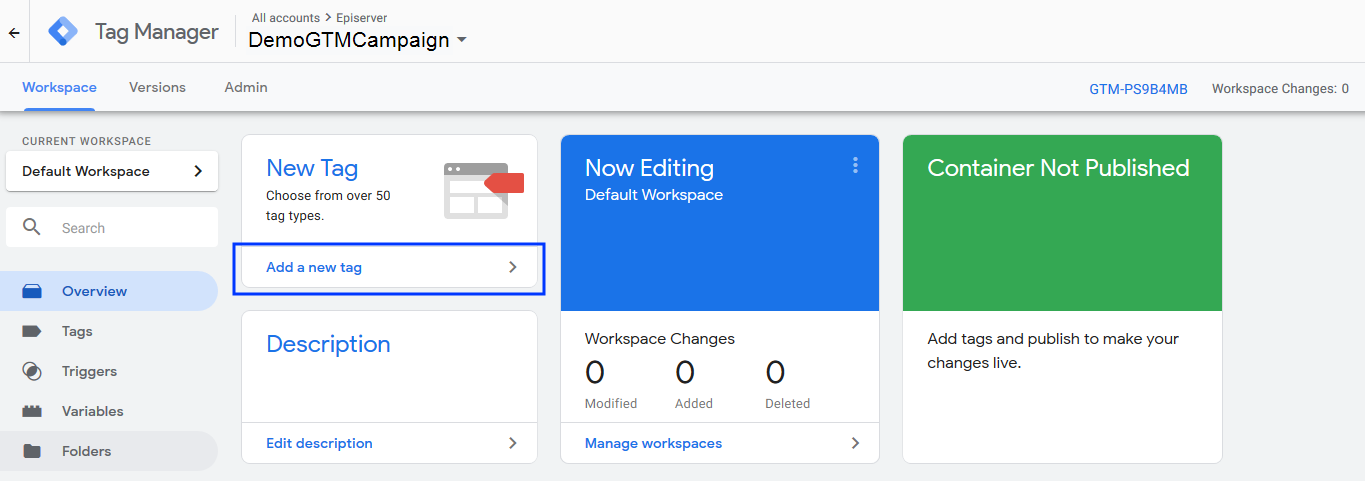
1) Create a Tag: To
create a new tag, click the Tags option in the left-hand sidebar of GTM and
then click the New button.
2) Configure: In the Untitled Tag box that
appears (shown in next slide, you can click in the Tag Configuration box or
click the pencil icon in the upper-right corner.
3) Select
Custom HTML:
On the next screen, you see all of the available tag types, including
Google-related tags, custom tags, and a More section that's full of third-party
tags. Use the Custom HTML option.
4) Paste
the Pixel:
Copy and paste the pixel script into the Custom HTML box. This is a good time
to give the pixel a name like "Landing Page Pixel," so you remember what this
pixel does.
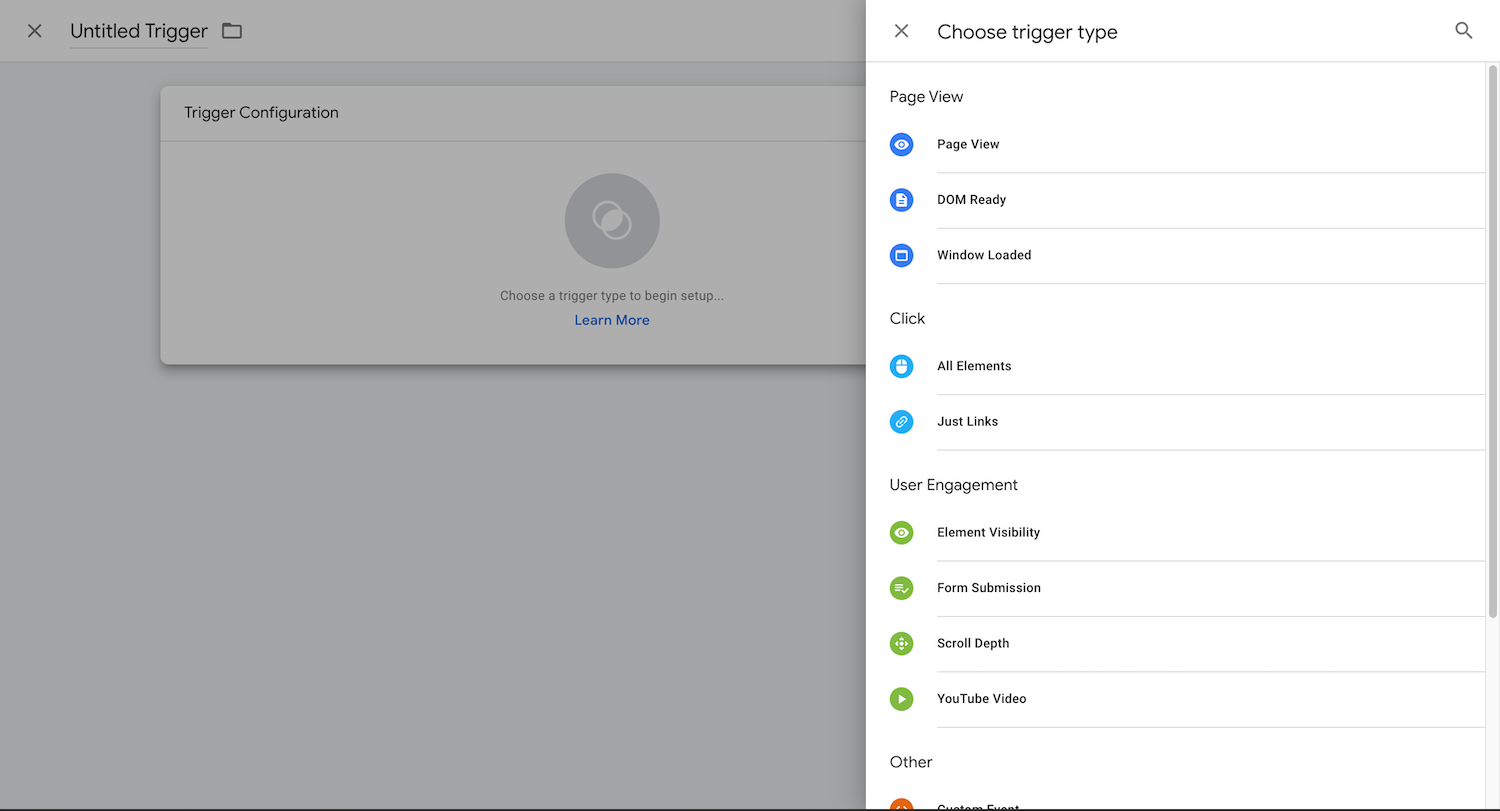
5) Add
a Trigger:
Every pixel must have at least one trigger to fire. The trigger tells the pixel
to fire when the specified event is detected. To add a trigger to your pixel,
click in the Triggering box below "Tag Configuration." On the Choose a Trigger
screen that appears, click the plus sign in the upper right to add a new
trigger. When the untitled trigger screen appears, click in the Trigger
Configuration box to select the type of trigger you want to add. For example,
if you want to track Lead Form Submissions for a financial advertiser's loan
application page, select "Form Submission."
* When you're done, name and save any
triggers you've added. Save your pixel and Google Tag Manager takes you back to
the main Workspace tab.
6) Test:
To make sure the pixel is working, click the Preview button in the upper right.
After you click Start Preview, an orange bar appears to let you know you're in
preview mode. Now open a new browser tab, go to your website, and refresh the
page. If all is working as it should, a giant window pops up at the bottom,
showing how you've set up the pixels behind the scenes in Google Tag Manager.
Then, simply look for the pixel you created in the Tags Fired on This Page
area.
7) Publish: After you know everything is
working, you can publish the pixel and create a version. To do that, click the
Submit button in the upper right, and the Submit Changes screen appears.
a)Make sure Publish and Create
Version is the selected configuration and add a brief description of what you
did in the Version Name box. This description helps anyone else working in the
container.
b)When you're done, click Publish,
and Google Tag Manager takes you to the Versions tab, where you can see the
backups it keeps. Click the Workspace tab, and you'll see workspace changes go
back to zero, which means everything is up to date.